How to Replace the Battery for EAGems IP54 Digital Caliper
Need help changing the battery for your IP54 digital caliper? Easily done - watch this. Take care not to lose the little screw you remove when changing the battery!
Electronic Digital Micrometer iP40 | iP54
Do not use the instrument near strong magnetic fields and high voltages. Use a soft cloth or a cotton swab that is dry to clean the instrument. Do not use organic solvent such as acetone or benzene.
WEN 10764 INSTRUCTION MANUAL Pdf Download | ManualsLib
Remove the battery tray from the back of the unit (you may need a small flat-head screwdriver). Set the included battery in the tray, with the positive (+) side facing upward. Reinstall the battery tray.
How to Change Battery of Accusize IP54 Electronic Digital Caliper
We often receive the question on how to install the battery of the caliper. So we created this video. For more information of the tools, please visit https:/...
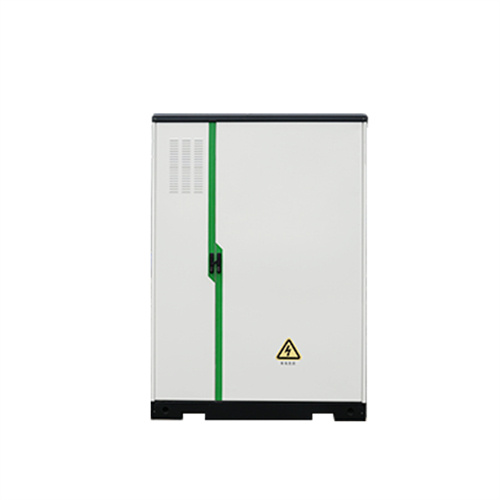
IP54 Waterproof Wall-Mounted Battery (5-15kWh) | A+ Grade Cells
Introducing our high-performance wall-mounted lithium battery solution, engineered for durability, safety, and seamless integration. Designed to meet the demands of modern energy storage, this 5-15kWh
OPERATING INSTRUCTIONS FOR IP54 LARGE LCD DISPLAY
For long term storage it is highly recommended to remove the battery completely. Place the battery together with the caliper in the included storage box. Remove the battery cover by using the supplied
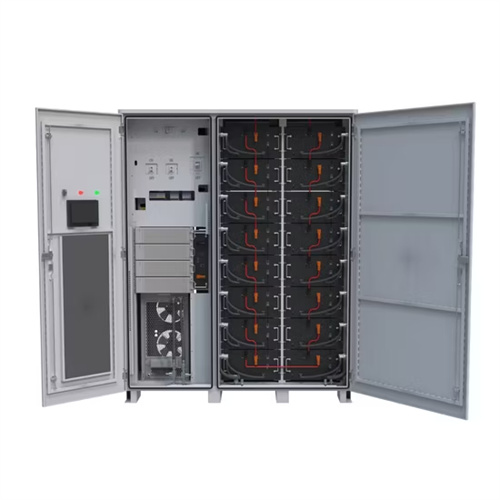
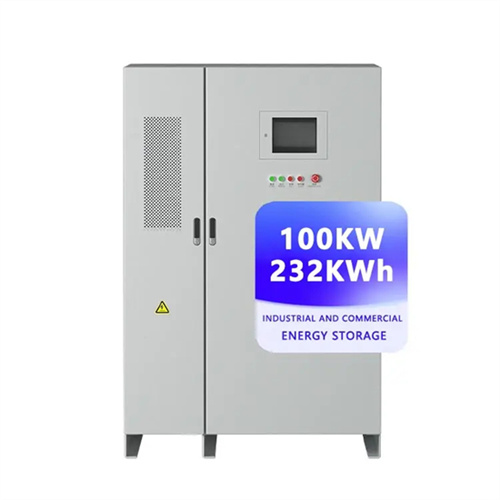
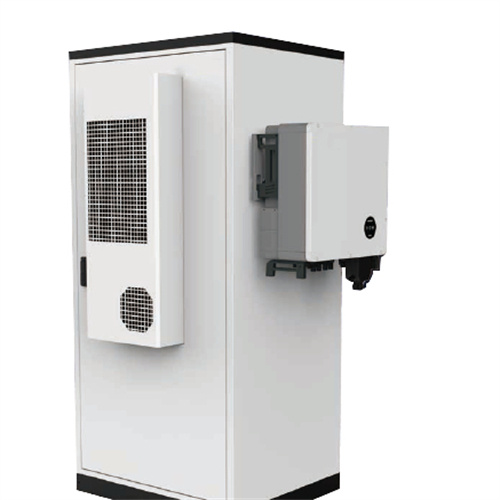
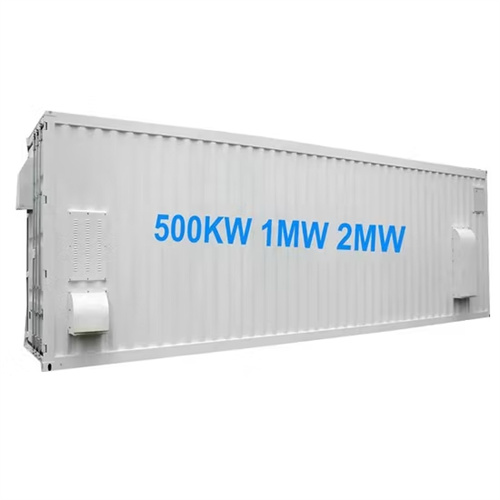
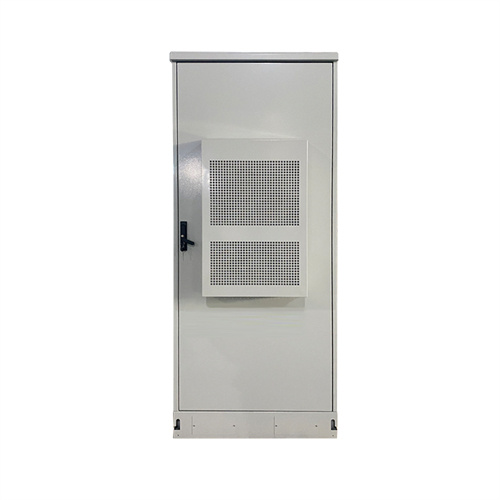
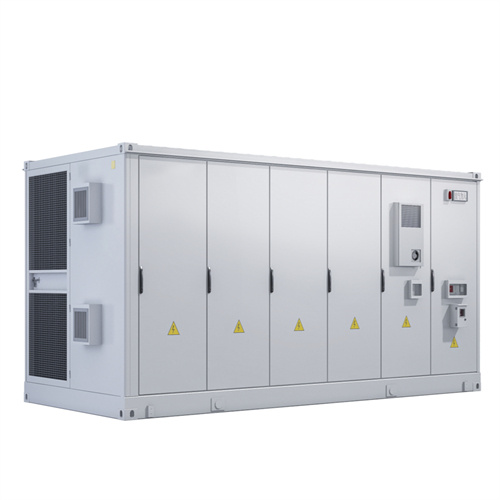
50kW to 200kW Battery Energy Storage Systems
Discover the MEGATRON Series – 50 to 200kW Battery Energy Storage Systems (BESS) tailored for commercial and industrial applications. These systems are install-ready and cost-effective, offering
Global 534802 133790 133791 Caliper instruction2024
Slide Battery Cover to the right Remove the Battery Rubber Seal Pull out the Battery Tab for battery removal Insert a new CR2032 battery Make sure the Battery is facing out / up Make sure the Battery
Need a refresher on how to change the...
This is a review of one of our LED work lights, posted through Amazon a while back: "I''ve used it for electrical work in a dark room, putting light on floor and aiming at work area.
4 FAQs about [Erik electricity unit ip54 remove battery]
How do I set up a work area for battery removal?
Preparing the work area is crucial to ensure a safe and organized environment for the battery removal process. Follow these steps to set up your work area: Park the Vehicle: Begin by parking the vehicle in a flat and well-ventilated area. Turn off the engine and engage the parking brake to prevent any unexpected movement.
How do I connect a battery pack?
Connect all battery packs as units requires. lt's suggested to connect at least 200Ah capacity battery. are tightened with torque of 2 Nm. Make sure polarity at both the battery and the inverter/charge is correctly connected and ring terminals are tightly screwed to the battery terminals.
How do you remove a negative cable from a battery?
Remove the Negative Cable: Start by using a wrench or socket to loosen the nut or bolt securing the negative cable to the negative terminal. Once loosened, carefully remove the negative cable from the terminal and position it away from the battery to prevent accidental contact.
How do I remove a battery hold-down?
Depending on the design, there may be one or more fasteners that need to be loosened or removed. Remove the Hold-Down: Once the fasteners are loosened, carefully lift out or unscrew the battery hold-down from the battery tray. Keep the fasteners in a safe place to prevent misplacement.